
How to Use the CapCut App Ultimate Guide 2024
In the realm of video editing applications, CapCut has emerged as a favorite for both beginners and professionals. This free editing software offers an array of features that make the video creation process streamlined and efficient. Whether you are aiming to produce content for social media, create engaging stories, or merely experiment with video editing, understanding “how to use the CapCut app” is essential. In this guide, we’ll delve deep into the functionalities of CapCut, helping you harness its full potential and elevate your video editing skills. By the end, the phrase “how to use the CapCut app” will no longer be a query but rather a skill you possess. Let’s embark on this creative journey together!
Read: How To Use KineMaster
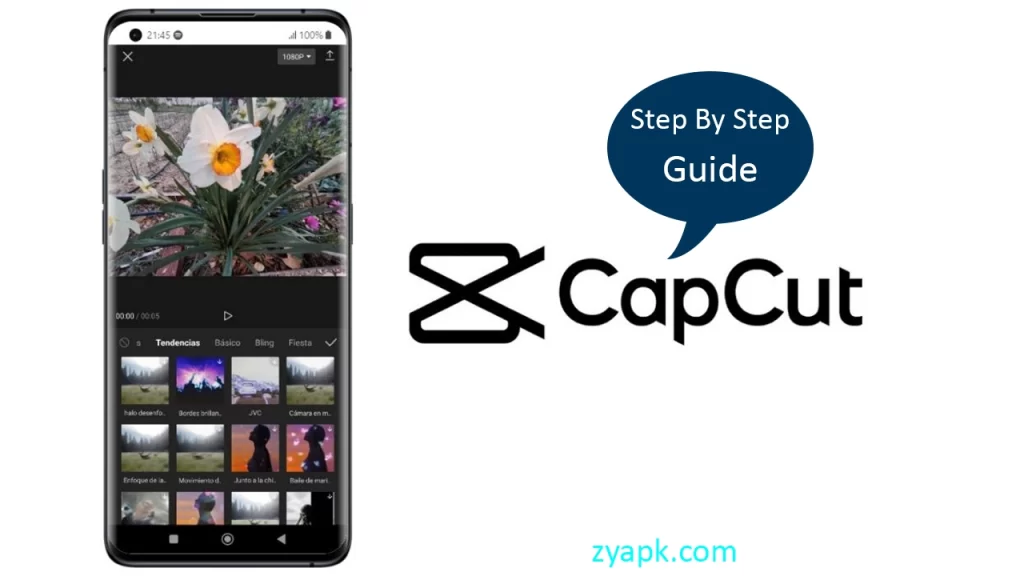
Step By step Guide: How to use the CapCut app
The realme of video editing might seem intimidating at first. With numerous apps available, CapCut stands out, not only because of its intuitive design but also because of its robust feature set. For those navigating its waters for the first time, or even those familiar with it looking to deepen their understanding, here’s a closer look into the world of CapCut:
You can also read: How to use the Alight motion app
1. Embarking on Your Journey: Download and Install
Haven’t got CapCut yet? Head over to the App Store (if you’re an Apple aficionado) or the Google Play Store (for Android enthusiasts). Download and let’s get started!
Once the app icon pops up on your screen, tap it, and let’s dive in.
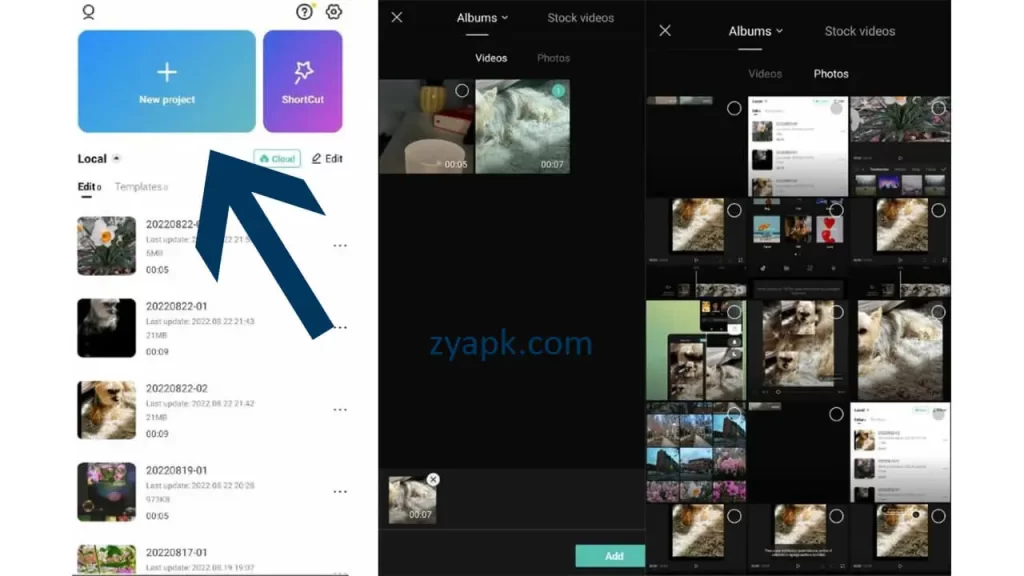
2. Your First Masterpiece: Creating a New Project
3. Sculpting Your Story: Basic Editing
4. Smooth Transitions: Crafting Seamless Connections
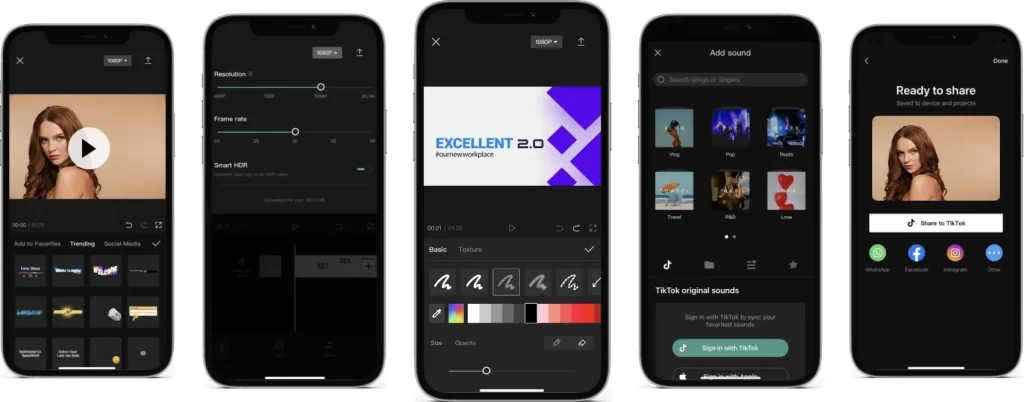
5. Setting the Mood: Adding Music
6. Personal Touches: Text and Stickers
Tap on the “Text” or “Sticker” icon. It’s like adding your signature.
Craft a message or pick a fun sticker. Make it yours by deciding where it sits, its size, and how long it stays.
7. Artistic Flair: Filters and Effects
8. Time’s Plaything: Adjusting Speed
Select a clip you feel needs a change in pace.
The “Speed” icon lets you slow down time or race against it. Adjust to your heart’s content.
9. Sharing Your Creation: Exporting Your Video
All done? Proud of your work? Hit the “Export” button.
Pick the quality, like choosing a frame for a painting.
It’s now ready to be saved or shared with the world. Your story was told your way.
10. Going Beyond: Advanced Features
As you grow with CapCut, you’ll discover there’s even more beneath the surface. Dive into advanced features like keyframing, masking, and layers.
It’s like learning advanced brush techniques once you’ve mastered basic strokes.
Remember, every tool in CapCut is like a brush in an artist’s kit. Explore, experiment, and, above all, enjoy the process. Your canvas awaits, and CapCut is your palette. Happy editing!
How to Trim Videos in CapCut
The CapCut app has rapidly gained recognition as a reliable video editing tool, perfect for both novices and experienced creators. Its intuitive interface simplifies the video editing process, making tasks like trimming, adding music, and layering effects a breeze. To start with CapCut, users simply need to launch the app, create a new project, and select their desired clips or images from their device’s gallery.
The timeline at the bottom facilitates easy dragging and dropping of elements, while the toolbar provides a plethora of editing options such as filters, text overlays, and transitions. After crafting their masterpiece, users can effortlessly export their edited video to a resolution of their choice, ready to be shared with the world. With frequent updates and a vast array of features, CapCut truly stands out as a mobile video editing powerhouse.
Conclusion
Alright, so diving into CapCut has been quite the adventure, hasn’t it? Learning how to use the CapCut app can greatly enhance one’s video editing capabilities, providing a range of tools and features that cater to both beginners and more experienced users. By familiarizing yourself with how to use the CapCut app, you open the door to producing professional-quality videos with ease and creativity.